
STEP 1 The first step was carving our objects out of wax in order to create a cast to pour the bronze in. For this project, I decided to translate my illustrations of crystal twins into bronze figures. The carving process took a while, and I was being a bit crazy about getting the figures as smooth as possible.
 Penetration twins in wax
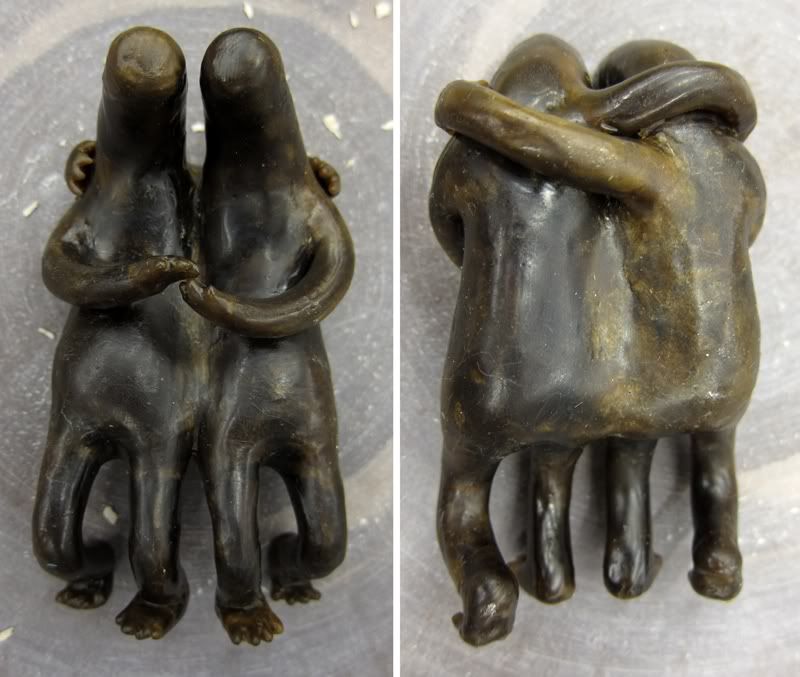 Contact twins in wax
STEP 2 The second step was to gate my creatures. There were larger, red wax-gates attached to the forms to allow the bronze to pour in, and smaller blue lines of wax to reach smaller parts of the creatures bodies, such as the extremities, especially the little toes. After this we attached the forms to cups by the gates, which is where the bronze would be poured into.
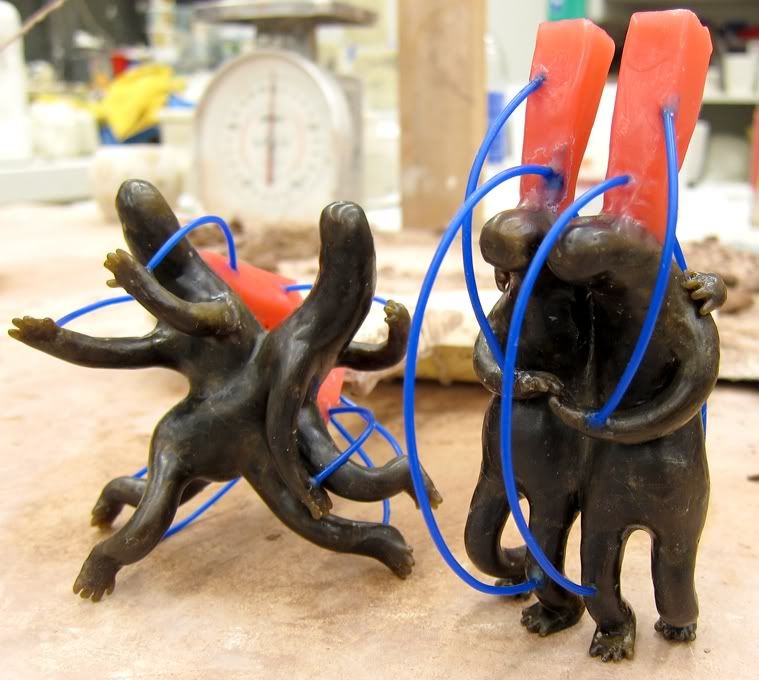 Accidentally over gated the contact twins, so I just removed the blue lines that were attached to the front and back legs.
STEP 3 The final step before the pour involved dipping the gated wax sculptures in some sort of crazy toxic-lime green fluid, a type of silica, to create a ceramic shell around the objects. We had to dip it in the silica, then dip it in a certain type of sand, then let it dry completely and repeat the process a total of 8 times. This took a ridiculously long amount of time. After each dip the wait ranged from 30 minutes to 2 hours before the next dip could occur.
STEP 4 Pouring bronze!! The sculptures were put in a kiln and heated until all the wax melted out. The the ceramic shells were transferred to sand pits, and the bronze was poured! It was really amazing to watch molten bronze being poured.
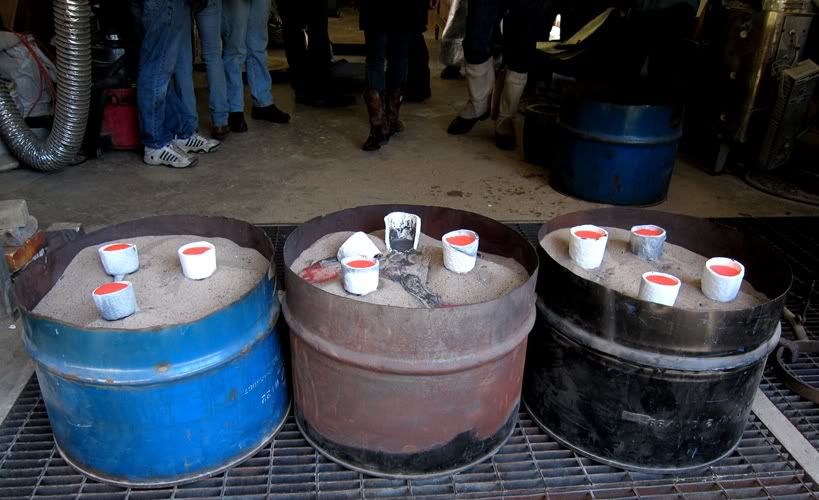 Sand pits! Someone's mold cracked unfortunately. One of my little guys was in the black pit on the right.
STEP 4 Pouring bronze!! The sculptures were put in a kiln and heated until all the wax melted out. The the ceramic shells were transferred to sand pits, and the bronze was poured! It was really amazing to watch molten bronze being poured.
Sand pits! Someone's mold cracked unfortunately. One of my little guys was in the black pit on the right.STEP 5
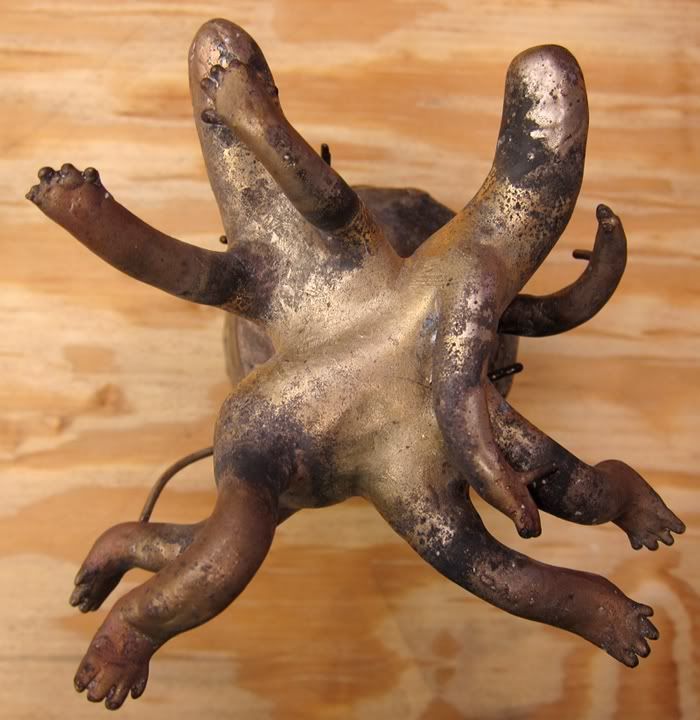
BEAUTIFUL! Once the bronze cooled, I cracked open the mold and picked away all the remaining silica mold to reveal my beaaauutifuull crystal twins. Thank goodness they didn't look like doo-doo!
 Penetration twins in bronze
 Contact twins in bronze, and contact twins cooling off while still in the silica mold. The toes!
The rest of the process will be posted later this week or next week. It'll involve removing the gates, sand blasting, and polishing, as well as any other touch up work and detailing!
BEAUTIFUL! Once the bronze cooled, I cracked open the mold and picked away all the remaining silica mold to reveal my beaaauutifuull crystal twins. Thank goodness they didn't look like doo-doo!
Penetration twins in bronzeContact twins in bronze, and contact twins cooling off while still in the silica mold. The toes!The rest of the process will be posted later this week or next week. It'll involve removing the gates, sand blasting, and polishing, as well as any other touch up work and detailing!
Those toes, Halie! I love em!
ReplyDelete